Oh no! Chocolate has met your car seat! We've all been there – a rogue piece of candy, a melty ice cream cone, or a forgotten chocolate bar can leave a sticky, messy surprise on your car's interior. Don't panic! Removing chocolate from a car seat might seem daunting, but with the right tools and techniques, you can restore your car seat to its former glory. This guide will walk you through the process step-by-step, ensuring a chocolate-free ride every time. How to Remove Chocolate Stains from Car Seats : A Comprehensive Guide Getting chocolate out of your car seat involves a multi-pronged approach, addressing both the solid residue and the greasy stain it leaves behind. The sooner you tackle the stain, the easier it will be to remove. Remember to always test any cleaning solution on an inconspicuous area of the car seat first to ensure it doesn't damage or discolor the fabric. Step 1: Gather Your Supplies for Chocolate Removal Before you ...
Discovering egg splattered across your car can be a frustrating experience, to say the least. Whether it was a prank gone wrong or an accidental mishap, the sticky mess can quickly turn into a bigger problem if not addressed promptly. Egg residue can damage your car's paint, leading to costly repairs if left unattended. But don't worry! Getting egg off of your car and preventing lasting damage is totally achievable with the right approach. This guide will walk you through everything you need to know to tackle this messy situation and restore your car's pristine shine.
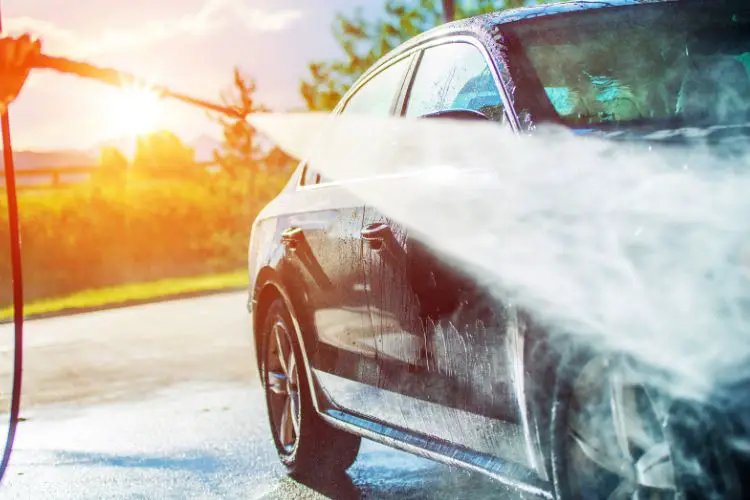
How to Get Egg off Your Car: A Step-by-Step Guide
Removing egg from your car's surface requires a careful and methodical approach to avoid further damage. The key is to act quickly and use the right tools and cleaning agents. Follow these steps to effectively clean your car and eliminate any traces of egg.
Immediate Action: The Sooner, the Better
Time is of the essence when dealing with egg on your car. The longer the egg sits, the harder it becomes to remove and the greater the risk of damage to the paint. Egg yolks contain uric acid, which can etch into your car's clear coat, leading to permanent stains or even paint damage. If you discover the egg shortly after it lands, your chances of a successful and damage-free removal are significantly higher. This is a fact you should keep in mind when thinking abouthow to remove dried egg from carsurfaces.
Gather Your Supplies:The Right Tools for the Job
Before you start, gather the necessary supplies to make the cleaning process efficient and effective. Having everything within reach will save you time and prevent the egg from drying further. Here's a list of essential items:
- Clean Microfiber Cloths: These are gentle on your car's paint and won't scratch the surface.
- Warm Water: Warm water helps to loosen the egg residue.
- Car Wash Soap: A p H-balanced car wash soap is designed to clean your car without damaging the paint.
- Hose with a Gentle Spray Nozzle: For rinsing the affected area.
- Optional: Baking Soda: For stubborn egg residue.
- Optional: Plastic Scraper: For gentle scraping, if needed. Use with extreme caution to avoid scratches.
Step-by-Step Cleaning Process: A Detailed Guide
Now that you have your supplies ready, let's dive into the cleaning process. Follow these steps carefully to ensure you remove the egg effectively and without causing any damage to your car's paint.
Step 1: Rinse the Affected Area
Start by rinsing the area covered in egg with warm water. Use a hose with a gentle spray nozzle to avoid applying too much pressure. The warm water will help to soften the egg residue, making it easier to remove in the subsequent steps.
Step 2: Apply Car Wash Soap and Water
Mix car wash soap with warm water according to the product's instructions. Soak a clean microfiber cloth in the soapy water and gently wipe the affected area. Avoid scrubbing aggressively, as this can scratch the paint. Instead, use gentle, circular motions to lift the egg residue.
Step 3: Gently Scrub Stubborn Residue
If some egg residue remains after the initial wash, you can try a few different techniques to remove it. One option is to create a paste of baking soda and water. Apply the paste to the stubborn residue and let it sit for a few minutes. Then, gently rub the area with a microfiber cloth. Always test the baking soda paste on an inconspicuous area of your car first to ensure it doesn't damage the paint. Another option is to use a plastic scraper very gently, being extremely careful not to scratch the surface. Apply minimal pressure and consider using a lubricant like soapy water.
Step 4: Rinse Thoroughly
Once you have removed all the egg residue, rinse the entire area thoroughly with clean water to remove any traces of soap or baking soda. Ensure that no residue remains, as this can attract dirt and grime.
Step 5: Dry with a Clean Microfiber Cloth
After rinsing, dry the area with a clean, dry microfiber cloth. Use gentle patting motions to avoid streaking. Ensure the area is completely dry to prevent water spots.
Dealing with Dried Egg on Your Car: A More Challenging Task
Removing dried egg from your car presents a greater challenge than dealing with fresh egg. The dried egg becomes hardened and more difficult to dissolve, increasing the risk of damage to the paint. However, with the right techniques and patience, you can still successfully remove it.
Pre-Soaking: The Key to Loosening Dried Egg
The key to removing dried egg is to rehydrate it. This can be achieved by pre-soaking the affected area with warm water. You can use a spray bottle to apply warm water to the dried egg or place a wet towel over the area for about 15-20 minutes. The warm water will help to soften the egg, making it easier to remove.
Using a Clay Bar: A More Advanced Technique
If the dried egg has left behind stubborn residue even after pre-soaking, you may need to use a clay bar. A clay bar is a detailing tool that can remove embedded contaminants from your car's paint. Lubricate the area well with clay bar lubricant and gently rub the clay bar over the surface. The clay bar will lift the remaining egg residue, leaving your paint smooth and clean. Follow the clay bar manufacturer's instructions carefully.
Professional Detailing: When to Call in the Experts
In some cases, especially if the egg has been left on the car for a prolonged period or if the damage is severe, it may be best to seek professional help. A professional auto detailer has the expertise, tools, and products to safely remove the egg and restore your car's paint to its original condition. They can also assess any potential damage and recommend appropriate repairs.
Preventing Future Egg Attacks: Protecting Your Car
While you can't always prevent someone from throwing eggs at your car, there are steps you can take to minimize the risk and protect your vehicle.
- Park in Well-Lit Areas: Parking your car in well-lit areas can deter vandals.
- Install a Security Camera: If you live in an area prone to vandalism, consider installing a security camera to monitor your car.
- Car Cover: Use a car cover to protect your car's paint from egg and other potential damage.
- Apply a Protective Coating: Applying a wax, sealant, or ceramic coating to your car's paint can provide an extra layer of protection against egg and other contaminants.
Cost Considerations: Repairing Egg Damage
The cost of repairing egg damage to your car can vary depending on the severity of the damage. Minor damage, such as light staining, can often be repaired with a simple cleaning. However, more severe damage, such as etching or paint damage, may require professional paint correction or even repainting. Here's a general overview of potential costs:
- DIY Cleaning: $10-$30 (for supplies)
- Professional Detailing: $50-$200 (depending on the detailer and the extent of the cleaning)
- Paint Correction: $100-$500 (depending on the severity of the damage)
- Repainting: $300-$1000+ (depending on the size of the area and the type of paint)
Conclusion: Taking Action and Protecting Your Investment
Discovering egg on your car is never a pleasant experience, but by taking swift action and following the steps outlined in this guide, you can effectively remove the egg and prevent lasting damage. Remember thathow to get egg off of car surfaces hinges on promptness and using the correct materials. Whether you choose to tackle the task yourself or seek professional help, addressing the issue quickly will save you time, money, and unnecessary stress. Protecting your car is an investment, and taking care of its appearance will ensure it maintains its value and beauty for years to come.