Oh no! Chocolate has met your car seat! We've all been there – a rogue piece of candy, a melty ice cream cone, or a forgotten chocolate bar can leave a sticky, messy surprise on your car's interior. Don't panic! Removing chocolate from a car seat might seem daunting, but with the right tools and techniques, you can restore your car seat to its former glory. This guide will walk you through the process step-by-step, ensuring a chocolate-free ride every time. How to Remove Chocolate Stains from Car Seats : A Comprehensive Guide Getting chocolate out of your car seat involves a multi-pronged approach, addressing both the solid residue and the greasy stain it leaves behind. The sooner you tackle the stain, the easier it will be to remove. Remember to always test any cleaning solution on an inconspicuous area of the car seat first to ensure it doesn't damage or discolor the fabric. Step 1: Gather Your Supplies for Chocolate Removal Before you ...
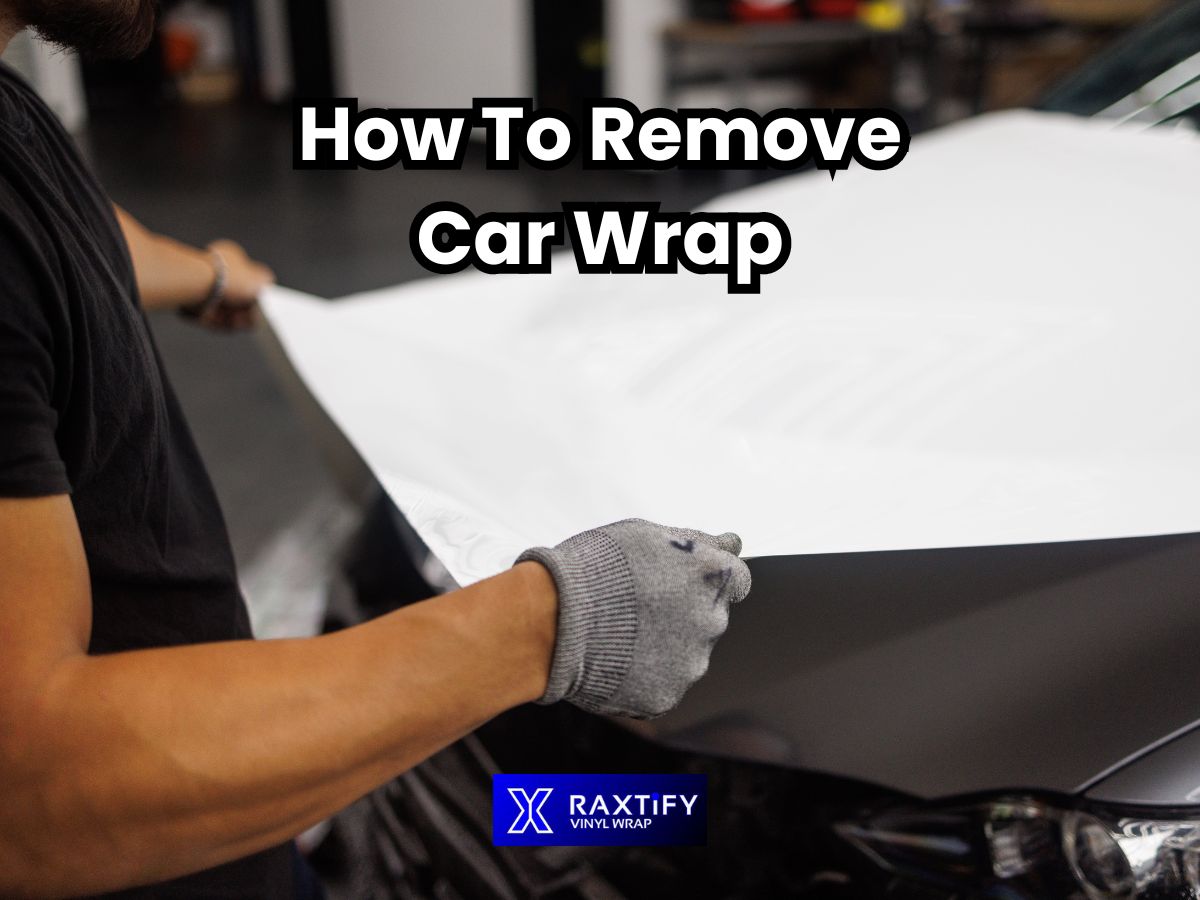
So, you've decided it's time to say goodbye to your car wrap. Maybe you're ready for a new look, or perhaps the wrap is starting to show its age. Whatever the reason, removing a car wrap is a task that requires patience and the right techniques. Don't worry; with a little know-how, you can peel it off like a pro and get your car back to its original glory! This guide will walk you through everything you need to know about how to remove car wrap without damaging your vehicle.
Understanding Car Wraps and Removal
Before we dive into the "how-to," let's understand what we're dealing with. Car wraps are essentially large vinyl decals applied to a vehicle's painted surfaces. They come in various colors, finishes, and designs, offering a temporary and customizable alternative to paint jobs. The adhesive used in car wraps is designed to be strong enough to withstand the elements but also removable without harming the underlying paint. However, factors like the quality of the wrap, the application process, the duration it's been on the car, and the climate it's been exposed to can all affect how easily it comes off. Understanding these variables is crucial for a smooth and successfulcar wrap removal process.
Why Remove a Car Wrap?
There are several reasons why someone might want to remove a car wrap. Perhaps the original motivation for applying the wrap is no longer relevant. Here are a few common scenarios:
- Change of Branding: Businesses often update their logos, colors, or contact information, necessitating the removal of the old wrap.
- Wear and Tear: Over time, car wraps can fade, crack, or peel due to exposure to sunlight, weather, and road debris.
- Sale of Vehicle: A potential buyer might not be a fan of the existing wrap, and removing it can increase the car's appeal.
- Personal Preference: Simply wanting a new look for the car is a perfectly valid reason!
- Damage to the Wrap: If the wrap gets significantly damaged in an accident or through vandalism, removal and replacement might be necessary.
Tools and Materials Needed for Car Wrap Removal
Having the right tools on hand is essential for a safe and efficientcar wrap removal. Trying to "wing it" can lead to frustration and potential damage to your car's paint. Here's a list of what you'll need:
- Heat Gun or Hair Dryer: The heat will soften the adhesive, making the wrap easier to peel off. A heat gun is generally more effective but requires caution to avoid overheating.
- Plastic Razor Blades or a Wrap Removal Tool: These tools help lift the edges of the wrap without scratching the paint. Avoid using metal blades, as they can easily damage the surface.
- Soft, Clean Cloths: For wiping away adhesive residue. Microfiber cloths are ideal.
- Adhesive Remover: Specifically designed for removing vinyl adhesive without harming car paint. Test it in an inconspicuous area first. Look for residue removers such as Rapid Remover or 3M Adhesive Remover.
- Spray Bottle: For applying the adhesive remover.
- Gloves: To protect your hands from the heat and chemicals.
- Optional: Steamer: A steamer is another alternative method of applying heat to the wrap.
- Optional: Clay Bar and Lubricant: A clay bar can help remove stubborn adhesive residue and contaminants from the paint surface.
Step-by-Step Guide: How to Remove Car Wrap
Now, let's get down to the nitty-gritty. Here's a detailed, step-by-step guide onhow to remove a car wrap safely and effectively. Remember to work in a well-ventilated area and take your time.
Step 1: Preparation
Park your car in a shaded area or garage. Direct sunlight can make the wrap adhesive stickier and harder to remove. Wash the area where you'll be working to remove any dirt or debris that could scratch the paint during the removal process. Use soap and water to get the area nice and clean. This will help to make the vinyl wrap removal process smoother.
Step 2: Apply Heat
Using your heat gun or hair dryer, apply heat to a small section of the wrap (about 12-18 inches). Hold the heat source a few inches away from the wrap and move it back and forth in a sweeping motion. Avoid concentrating the heat in one spot for too long, as this can damage the underlying paint or the wrap itself, making it more difficult to remove. The goal is to warm the adhesive, making it more pliable. The ideal temperature range is typically between 100°F and 120°F (38°C - 49°C). A good way to check that the adhesive is heated correctly is to use a Infrared thermometer to ensure the correct temperature.
Step 3: Peel the Wrap
Once the section is heated, use your plastic razor blade or wrap removal tool to gently lift an edge of the wrap. Peel the wrap slowly and at a 45-degree angle, keeping the heated area warm as you go. If the wrap is tearing or becoming difficult to peel, apply more heat. The key is to maintain a slow and steady pace, avoiding sudden jerks that could leave adhesive residue behind. It's best to apply consistent pressure when peeling the wrap. Removing car wraps can be tedious and require plenty of patience. Don't rush this step!
Step 4: Remove Adhesive Residue
After removing the wrap, you'll likely be left with some adhesive residue on the paint. This is where your adhesive remover comes in handy. Spray the affected area with the adhesive remover and let it sit for the time recommended on the product label (usually a few minutes). Then, use a clean, soft cloth to wipe away the residue. You may need to repeat this process several times for stubborn residue. For especially stubborn residue, consider using a clay bar with lubricant. Follow the instructions on the clay bar package to effectively remove the residue without scratching the paint. A clay bar is great for removing adhesive residue.
Step 5: Clean and Polish
Once all the adhesive residue is removed, wash the area again with soap and water to remove any traces of the adhesive remover. Finally, apply a coat of wax or polish to protect the paint and restore its shine. This will help protect the paint from oxidation.
Tips and Tricks for Easier Car Wrap Removal
Here are some additional tips and tricks to make thecar wrap removal process even smoother:
- Work in Sections: Focus on small sections at a time (12-18 inches) to maintain control and prevent the wrap from tearing.
- Patience is Key: Don't rush the process. Rushing can lead to tearing, excessive residue, and potential damage to the paint.
- Heat is Your Friend: Don't be afraid to use heat, but be cautious not to overheat the wrap or the paint.
- Test Adhesive Remover: Always test the adhesive remover in an inconspicuous area first to ensure it doesn't damage the paint.
- Use the Right Tools: Using the correct tools, such as plastic razor blades, will prevent scratches.
- Consider Professional Help: If you're uncomfortable removing the wrap yourself, or if it's a particularly large or complex wrap, consider hiring a professional.
Factors Affecting Car Wrap Removal
Several factors can influence the ease and success ofremoving car wraps. Being aware of these factors can help you adjust your approach accordingly.
- Age of the Wrap: Older wraps tend to be more difficult to remove, as the adhesive can become brittle and harder to soften.
- Quality of the Wrap: High-quality wraps generally use better adhesives that are designed for easier removal. Cheaper wraps may use more aggressive adhesives that can leave more residue.
- Climate: Exposure to extreme temperatures and sunlight can accelerate the degradation of the wrap and adhesive, making it harder to remove.
- Application Quality: A poorly applied wrap with air bubbles or wrinkles can be more difficult to remove, as the adhesive may not have bonded evenly to the paint.
- Underlying Paint Condition: If the underlying paint is damaged or oxidized, removing the wrap could potentially lift some of the paint. It's best to have the car inspected before wrapping it to avoid this situation.
When to Call a Professional
While removing a car wrap yourself is certainly doable, there are times when it's best to leave it to the professionals. Consider hiring a professional if:
- You're uncomfortable working with heat guns or chemicals.
- The wrap is very old or damaged.
- You're concerned about damaging the paint.
- The wrap covers a large or complex area.
- You simply don't have the time or patience.
Professionals have the experience, tools, and expertise to remove car wraps quickly and safely. They can also handle any unexpected issues that may arise, such as removing stubborn adhesive residue or repairing minor paint damage.
Conclusion
Removing a car wrap*doesn't have to be a daunting task. With the right tools, techniques, and a healthy dose of patience, you can successfully remove the wrap yourself and reveal your car's original beauty. Remember to prioritize safety, take your time, and don't hesitate to seek professional help if needed. Good luck, and happy unwrapping!